Non-destructive testing


VT - visual methods

Visual testing is an NDT method that involves an examination with the unaided eye to detect, locate and evaluate a discontinuity or defect present on the surface of the material being tested. It is the oldest NDT method and considered one of the most important. The method is applicable at all stages of construction and/or production of a component or process installation.

Visual inspection is usually performed using unaided eyes. The effectiveness of the method can be improved by using special tools such as mirrors, magnifying glasses (magnifiers, telescopes) and boroscopes, fiberscopes, videoendoscopes.

However, with the use of more sophisticated equipment (i.e. videoendoscope), visual inspection can be extended to remote areas (remote examination) that are normally inaccessible to the operator. The use of specialised equipment allows the detection of defects, corrosion changes that cannot be seen with the unaided eye.
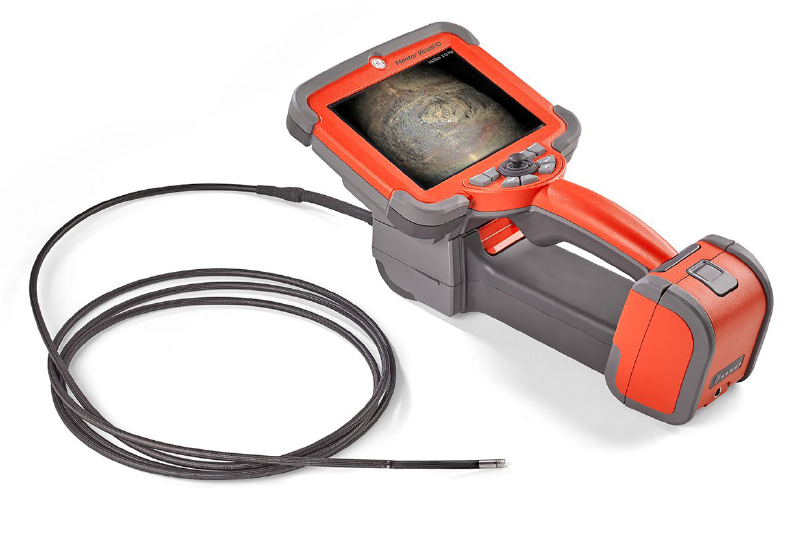
giętki wideoendoskop Mentor Visual iQ


Accreditation:
External shape imperfections and surface discontinuities. Visual method. PN-EN ISO 17637:2017-02 LABORATORIUM BADAWCZEGO nr AB 025

Certification: certificate VT-3, PN-EN ISO 9712


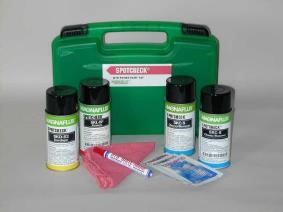
zestaw do badań PT firmy Magnaflux

Penetrating method PT

Penetration testing is an NDT method that uses the capillary phenomenon of penetration of a special liquid (penetrant) into cracks open to the surface of the component. The penetrant exuding from the flaws enables the size of the discontinuity to be detected and assessed. The PT method can be applied to most materials, including metal parts of engineering equipment.

Tests carried out using the penetrant method always consist of several steps that must be strictly followed: pre-cleaning, application of penetrant, removal of excess penetrant, application of developer and final cleaning of the material.


Accreditation:
External surface discontinuities open to the test surface. Penetration method PN-EN ISO 3452-1:2021-12 LABORATORIUM BADAWCZE nr AB 025


Certification:
certificate PT-3, PT-2, PN-EN ISO 9712


Magnetic-powder method MT

Magnetic-powder testing (MT) is an NDT method that uses the principle of magnetism. The material being tested is magnetised. Magnetic powder (finely ground iron particles coated with a colour pigment) is then applied to the component. A magnetic field is dispersed at the location of the discontinuity. The powder particles, attracted by the dispersed magnetic field, collect to form an indication located directly above the discontinuity. The method provides a visual representation of the defect.

Magnetic-powder testing (MT) is used to locate small surface and subsurface discontinuities or defects. MT is only applicable to magnetic materials (ferromagnetics). Therefore, it can only be used on metallic parts and industrial structures.

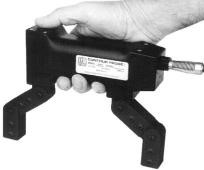
elektromagnes typu Yoke do wzbudzenia pola magnetycznego


Accreditation:
Surface and subsurface discontinuities. Magnetic-powder method PN-EN ISO 17638:2017-01 LABORATORIUM BADAWCZE nr AB 025


Certification:
certificate MT-3, PN-EN ISO 9712


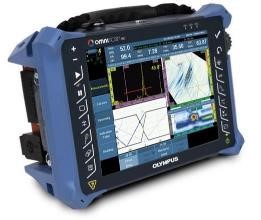
defektoskop UT Olympus OMNISCAN MX2

Ultrasonic method

The ultrasonic method (UT) uses high-frequency sound waves (ultrasound) to measure the geometric and physical properties of materials. The method uses the phenomenon of ultrasonic wave propagation in materials at different speeds. Sounds with frequencies from 50 kHz to 100 kHz are commonly used to inspect non-metallic materials, while those with frequencies from 0.5 MHz to 10 MHz are commonly used to inspect metallic materials.

Ultrasonic testing involves the generation of an ultrasonic wave which, travelling through the material, when it hits the boundary of two media or a defect, is reflected and returns to the transmitter. By comparing the two signals (emitted and reflected), the exact position of the defect and its size can be determined.


Accreditation:
Internal discontinuities. Ultrasonic method PN-EN ISO 17640:2019-01 LABORATORIUM BADAWCZE nr AB 025


Certification:
certificate UT-3, PN-EN ISO 9712


Eddy current method ET

Eddy current (ET) testing involves the use of an alternating current (AC) coil that induces a current (the so-called eddy current) on the surface of the component. By measuring the changes in eddy current, it is possible to detect the presence of defects and material discontinuities in the sample. The ET method can be used to verify the quality of metal tubular components of technological installations.

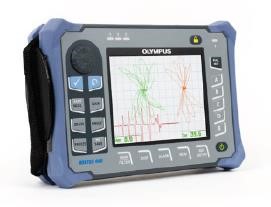
defektoskop ET Olympus NORTEC 600D


Certification:
certificate ET-2, PN-EN ISO 9712

Ask for more details:

Marcin Kowal – specialist
phone number:+48 22 273 11 71
email: marcin.kowal@ncbj.gov.pl


Łukasz Kurpaska – head of department
phone number:+48 22 273 10 61
email: lukasz.kurpaska@ncbj.gov.pl

Mechanical testing


Nanoindentation

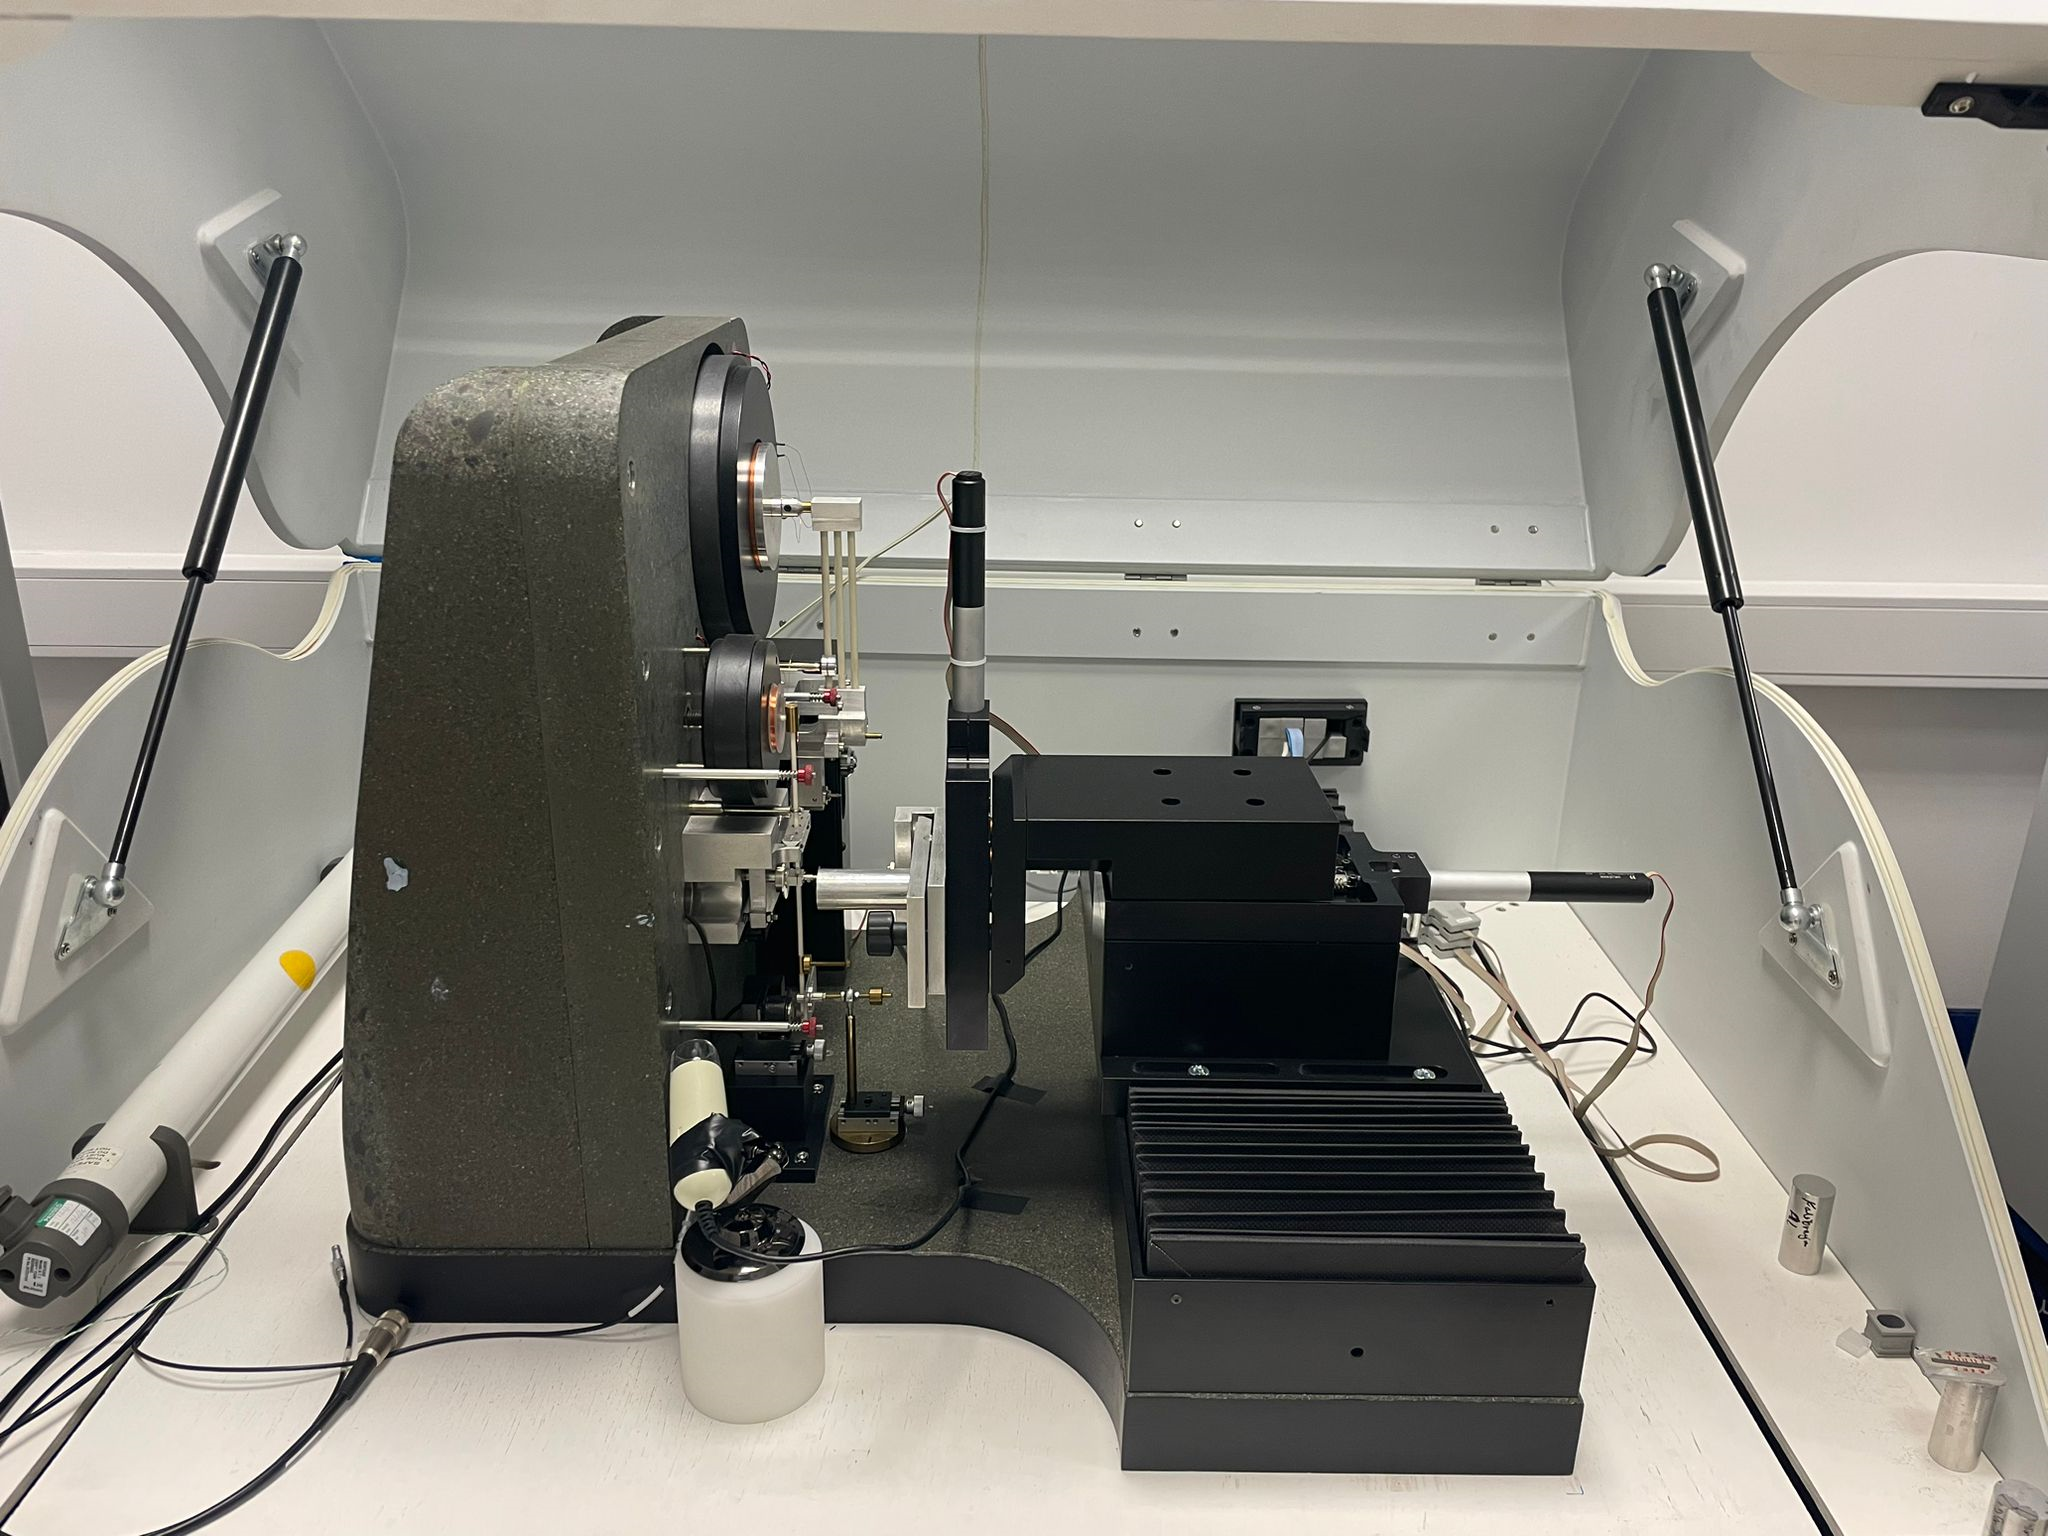
Nanoindentation is an advanced technique for measuring the mechanical properties of materials on a very small scale. In brief, it involves the controlled pressing of an indenter of known geometry into the surface of the material under test and then measuring the response of the material to this stress. This allows hardness, modulus of elasticity and other mechanical parameters to be determined at the nanometre level.

The method is particularly useful for testing nanocrystalline materials, thin films, or nanocomposites and implanted materials, where traditional measurement methods may be insufficient.

urządzenie do badań nanomechanicznych NanoTest Vanatge System (MicroMaterials Ltd.)


The scope of our research includes:

  • measurement of hardness and Young's modulus (at nano and micro scales from10 µN to 500 mN);
  • creep analysis at high temperatures (up to 700 ⁰C);
  • determination of stress-strain curves;
  • material strength testing;
  • testing using various indenters;
  • nano-tribological tests;
  • measurements in a controlled humidity environment.

Certification:
NanoTest Vanatge System (MicroMaterials Ltd.)


Contact:

Katarzyna Mulewska – research and technology specialist
phone number:+48 22 273 11 68
email: katarzyna.mulewska@ncbj.gov.pl

Edyta Wyszkowska – research and technology specialist
phone number:+48 22 273 22 07
email: edyta.wyszkowska@ncbj.gov.pl

Łukasz Kurpaska – head of Materials Research Laboratory
phone number:+48 22 273 10 61
email: lukasz.kurpaska@ncbj.gov.pl


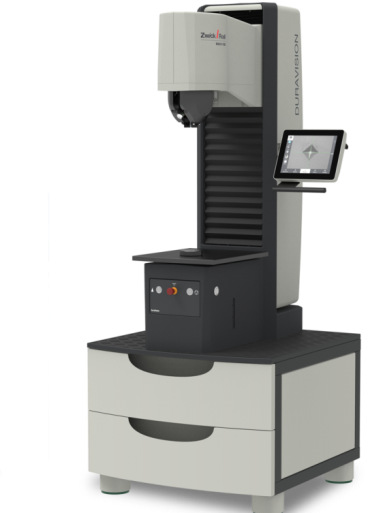
Twardościomierz uniwersalny

Hardness testing

Hardness testing provides a relatively simple, fast and cost-effective method for materials testing. This practical technique is widely used in various industries, offering an effective tool for assessing material properties. Hardness measurements can even be successfully carried out on finished components, which is an important advantage of this method. Importantly, hardness testing enables the inspection of welded or heat-treated materials, allowing verification of the correctness of the processes carried out. Test results are compared with the requirements set out in specific specifications or subject standards. In the Materials Research Laboratory, we carry out micro- and macro-hardness tests using the Brinell, Rockwell and Vickers methods.


Accreditation:
in accordance with the scope of accreditation PCA Nr AB 025


Impact testing

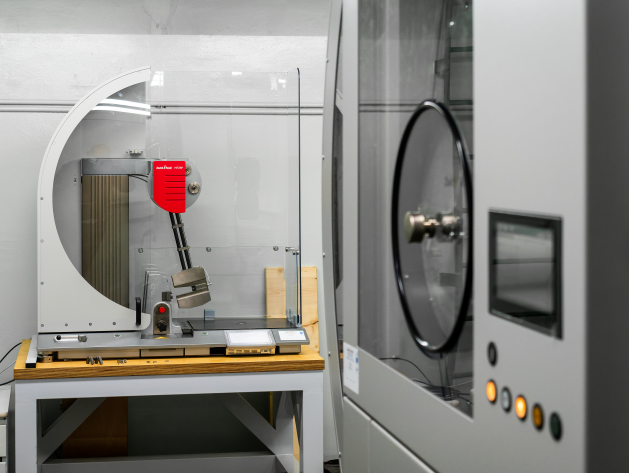
Impact testing is a key element of materials testing that assesses the resistance of a material to dynamic loads. The Materials Research Laboratory is equipped with two Charpy pendulum-type hammers with initial energies of 450 and 25 J. We perform tests at room temperature, elevated temperature (up to 200 °C) and reduced temperature (down to -90 °C). The purpose of low-temperature impact testing can be to determine the risk of a material becoming brittle under operating conditions. Importantly, hardness testing enables the inspection of welded or heat-treated materials, allowing verification of the correctness of the processes carried out. Test results are compared with the requirements set out in specific specifications or subject standards. We carry out impact tests on selected specimen geometries in an instrumented manner, i.e. by measuring the fracture force as a function of time or distance.

Młot udarnościowy o energii 450 J oraz o energii 25 J


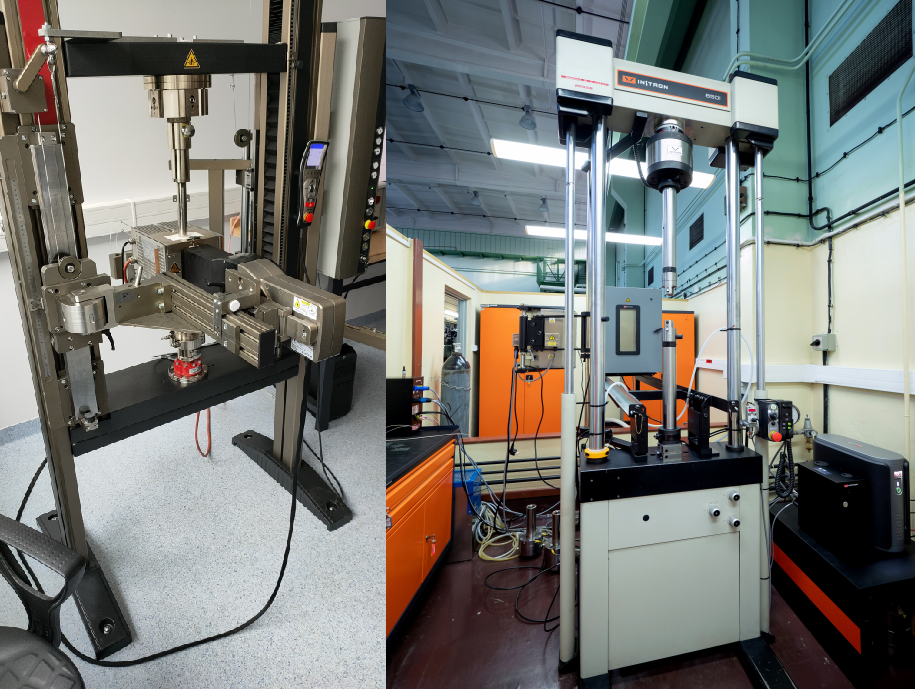
Po lewej: Statyczna maszyna wytrzymałościowa 10 kN wraz z oprzyrządowaniem: piecem oraz ekstensometrem laserowym DIC. Po prawej: Uniwersalna maszyna wytrzymałościowa 100 kN wraz z oprzyrządowaniem: piecem oraz komorą temperaturową

Static tensile test

The static tensile test is a basic material test which involves the axial stretching of a specimen during which the relationship between the increase in length and the tensile force is recorded. The basic values determined in the test are tensile strength (Rm), yield strength (Re, Rp0.2), constriction (Z) and elongation (A). The Materials Research Laboratory is equipped with two testing machines with maximum nominal forces of 100 and 10 kN respectively.  Measurements are performed at room temperature, elevated temperature (up to 1000 °C) and reduced temperature (down to -40 °C). Tensile testing of selected specimen geometries is carried out using the non-contact DIC (Digital Image Correlation) technique, which enables the registration and analysis of displacement and strain fields on the surface of the test object.


Accreditation:
in accordance with the scope of accreditation PCA Nr AB 025


Fracture toughness testing

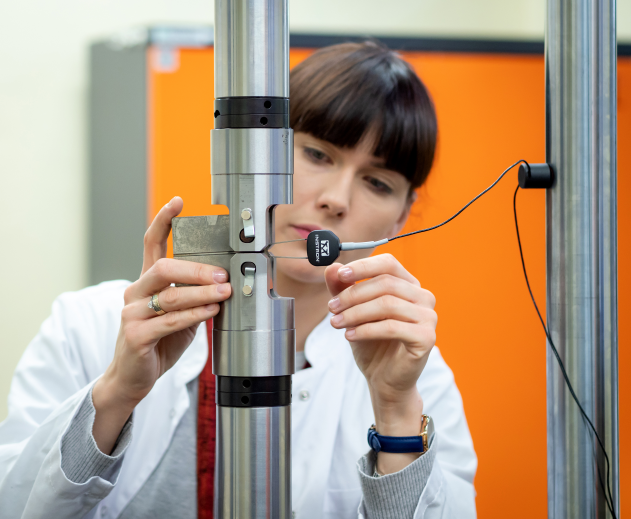
Assessing the strength of materials in traditional analyses assumes that they are flawless. Such a perspective does not take into account possible discontinuities that may affect the strength of the structure and consequently lead to failure earlier than predicted by standard strength calculations. Fracture mechanics makes it possible to determine the highest load at which a material with existing cracks of known size will still retain integrity, or to determine the largest fractures that will not lead to material failure under a given load. The fracture toughness tests we carry out in the Materials Research Laboratory include the determination of the stress intensity factor (KQ, KIC), the fracture opening value (δ, δc) and the fatigue fracture growth rate (da/dN). Test specimen geometries include a single-notch specimen for three-point bending SENB and a compact specimen for tensile testing CT. Most of the fracture toughness measurements are carried out using a 100 kN universal testing machine equipped with a temperature chamber.

Badanie odporności na pękanie na próbce typu CT


Accreditation:
in accordance with the scope of accreditation PCA Nr AB 025

Ask for more details:

Head of Mechanical Testing Laboratory - Małgorzata Frelek-Kozak
phone number:+48 22 273 10 48
email: malgorzata.frelek@ncbj.gov.pl

Scanning electron microscopy


sem

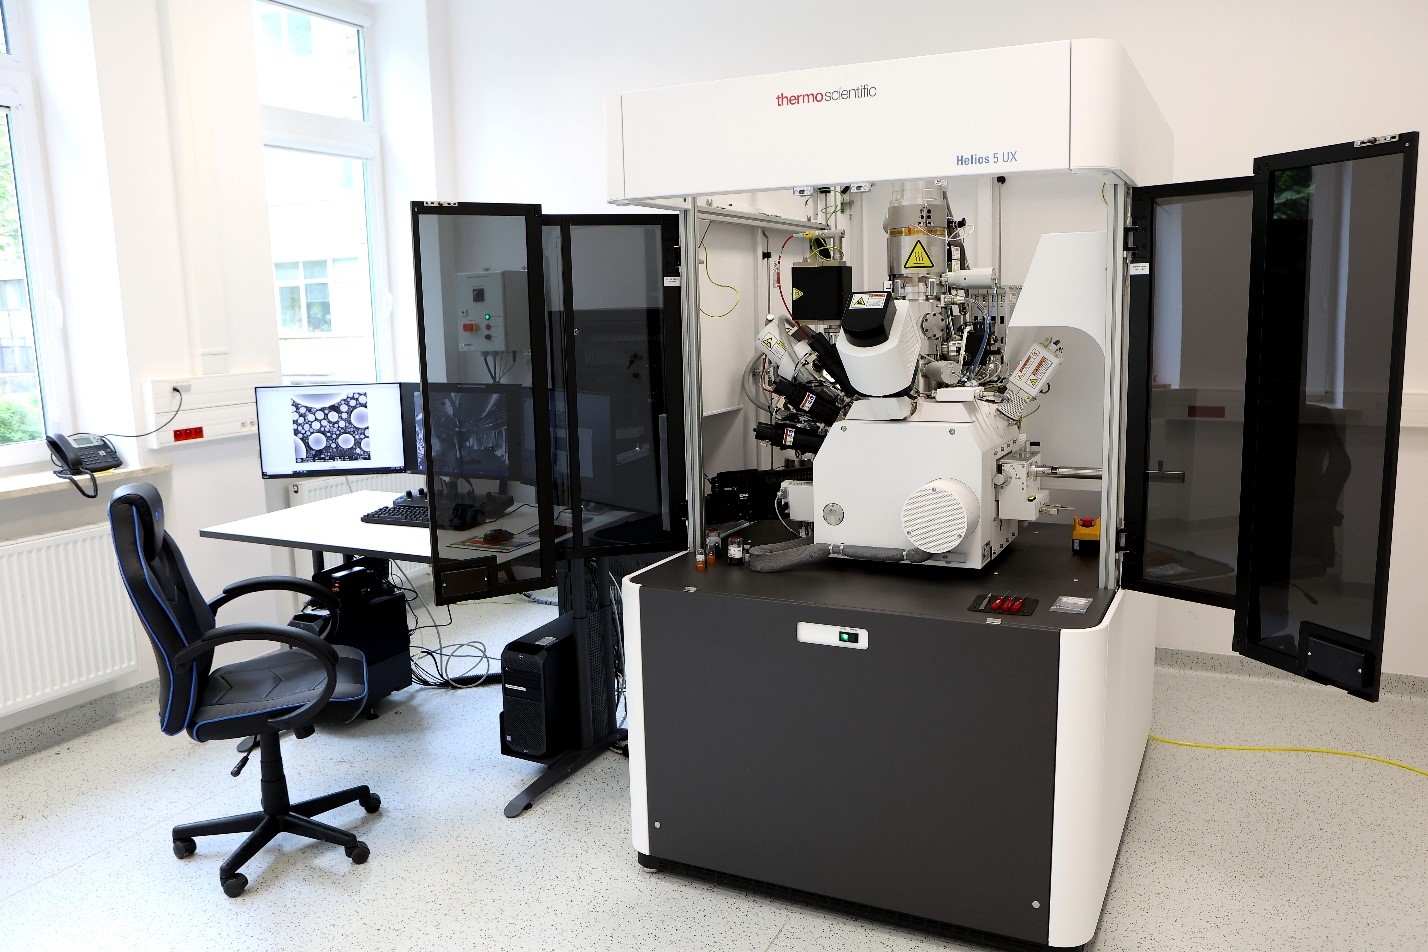
The laboratory is equipped with a ThermoFisher Scientific Helios 5 UX scanning electron microscope (SEM) using a Schottky Field Emission Gun. The microscope is equipped with an EDAX Octane Elite Plus energy-dispersive X-ray spectroscopy (EDS) spectrometer, which enables analysis of chemical composition in micro-areas, and an EDAX Velocity Pro backscattered electron diffraction (EBSD) camera, which allows the crystallographic orientation of grains in a material to be studied. The microscope is also equipped with a Ga+ ion column, which allows the preparation of samples for transmission microscopy (TEM) using the focused ion beam (FIB) technique, as well as 3D reconstruction of the material microstructure.


The research capabilities of the scanning electron microscopy laboratory include, among others: observation of surface topography, particle or precipitate size analysis, layer thickness analysis, chemical composition analysis by EDS (point analysis, linear analysis, elemental distribution), grain size distribution in the material, texture analysis of materials after plastic processing, 3D reconstruction of the microstructure, sample preparation for TEM microscopy by FIB.

Transmission electron microscopy


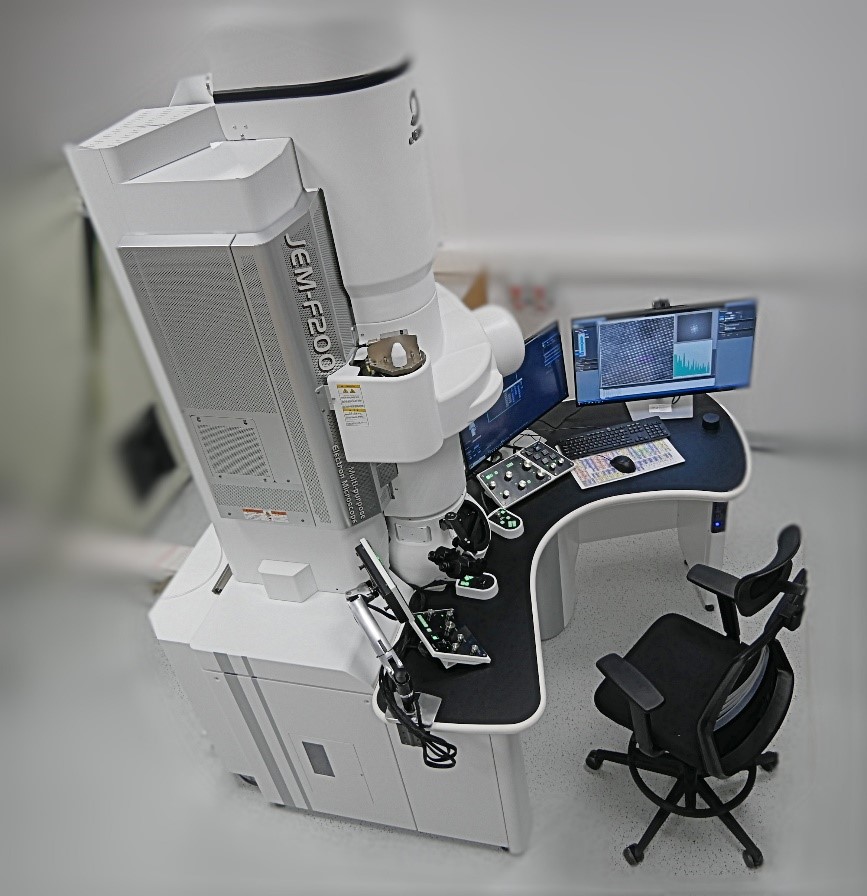
The transmission electron microscopy (TEM) laboratory is equipped with a high-resolution JEOL JEM F-200 microscope equipped with a Schottky Field Emission Gun. The microscope allows observations to be made in both TEM mode (resolution: 0.06 nm) and STEM scanning-transmission mode (resolution: 0.16 nm). In addition, the microscope is equipped with a dual-detector energy-dispersive X-ray spectroscopy (EDS) microanalysis system that allows chemical composition analysis in point, line or chemical element distribution mapping mode. Studies are carried out on samples less than 100 nm thick by electrolytic or ion beam polishing methods. The laboratory also has holders for in-situ high-temperature observations (up to 1000°C) and material deformation studies.

tem


The laboratory's research capabilities include bright-field and dark-field TEM observations (BD/DF), phase analysis using electron diffraction (SAED), high-resolution imaging (HRTEM), scanning-transmission mode observations (BF or HAADF) and micro-area chemical composition analysis.

Ask for more details:

dr Iwona Jóźwik – Head of the Materials Characterisation Research Group
phone number:+48 22 273 1448
email: Iwona.Jozwik@ncbj.gov.pl